A Beginner's Guide to Manual Mode in Photography
Mastering Manual Mode: A Comprehensive Guide to Taking Creative Control of Your Photography
When you’re starting out in photography, relying on your camera’s automatic mode can seem like the easiest way to capture your images. However, to truly unlock your creative potential and capture the exact look and feel you envision, it’s essential to master manual mode. This guide will delve into the fundamentals of manual mode, covering aperture, shutter speed, ISO, and more, to help you elevate your photography skills.
Understanding Manual Mode
Manual mode, or M mode on your camera’s dial, grants you full control over your camera’s settings, allowing you to adjust aperture, shutter speed, and ISO. Unlike automatic mode, where the camera makes decisions for you, manual mode lets you dictate the outcome of your photos. This level of control is crucial for capturing high-quality images that match your creative vision.
What is Aperture?
Aperture refers to the size of the lens opening that allows light to reach your camera’s sensor. It is measured in f-stops, and adjusting the aperture affects both the exposure and depth of field (DoF) in your photographs.
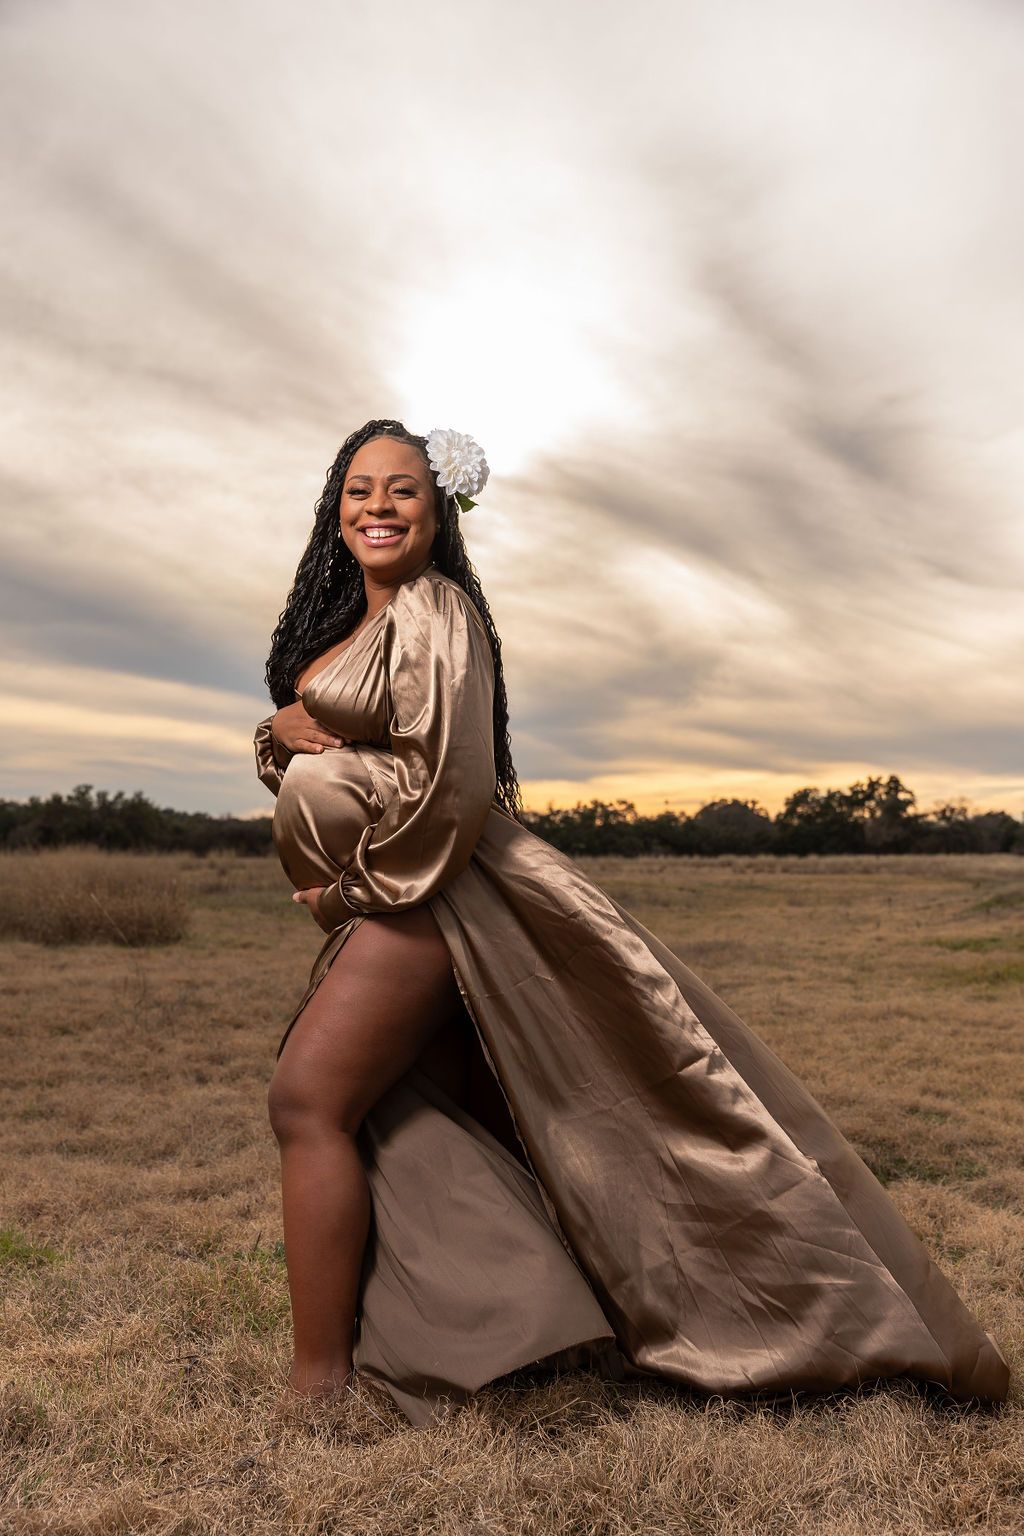
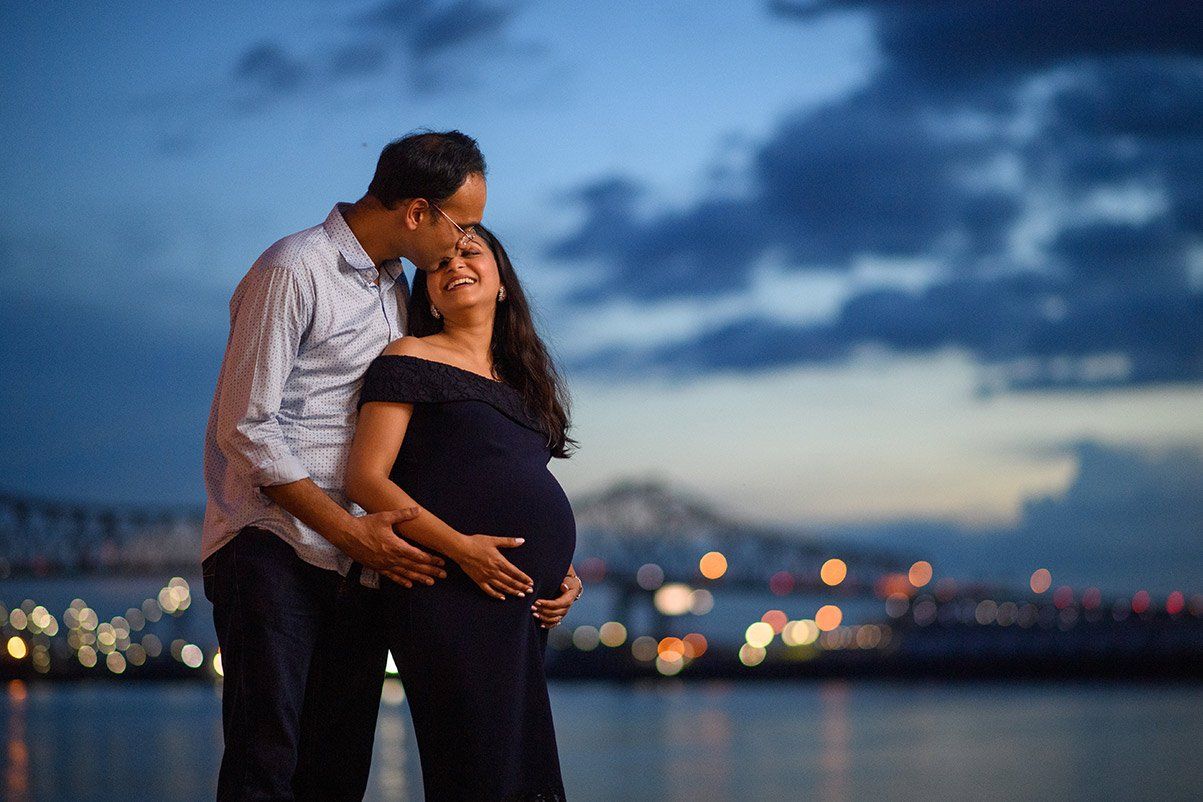
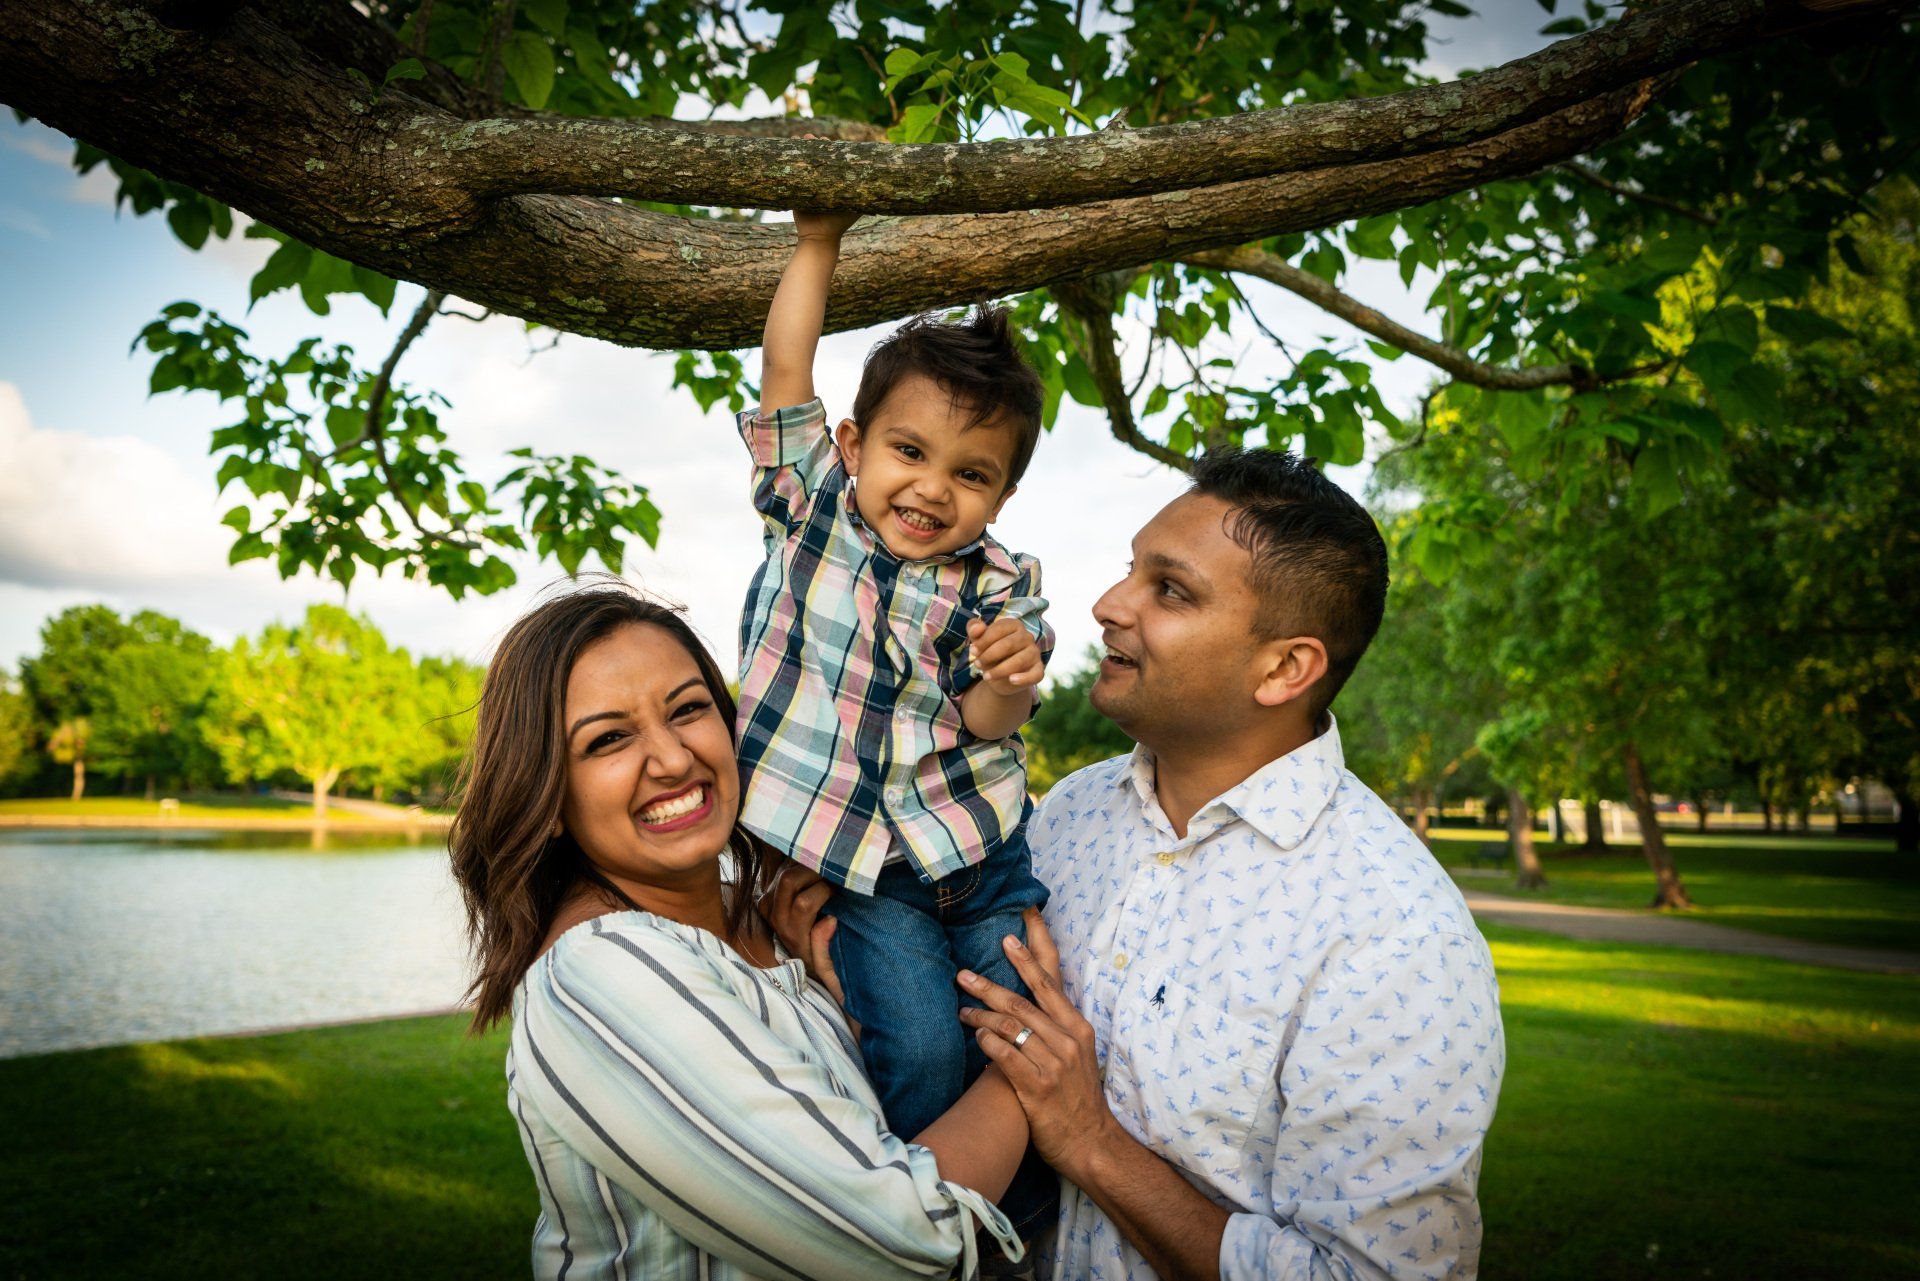
- Wide Aperture (Small f-stop number, e.g., f/1.8): Allows more light to hit the sensor, creating a shallow depth of field. This effect is ideal for portrait photography, where you want a beautifully blurred background to make your subject stand out.
- Narrow Aperture (Large f-stop number, e.g., f/16): Allows less light to hit the sensor, resulting in a deeper depth of field. This setting is perfect for landscape photography, ensuring that both the foreground and background are in sharp focus.
What is Shutter Speed?
Shutter speed is the duration that your camera’s shutter remains open, exposing the sensor to light. It’s measured in seconds or fractions of a second and significantly impacts the motion in your photographs.
- Fast Shutter Speed (e.g., 1/1000 sec): Captures fast-moving subjects with clarity and freezes action. This is useful for sports photography or capturing quick moments.
- Slow Shutter Speed (e.g., 1/30 sec): Allows motion blur to show movement, creating dynamic effects. This is great for photographing flowing water or light trails.
What is ISO?
ISO measures your camera’s sensitivity to light. Lower ISO values (e.g., ISO 100) are used in bright conditions, while higher ISO values (e.g., ISO 1600) are used in low light situations.
- Low ISO: Produces less noise (grain) and is ideal for bright environments where you need clear, detailed images.
- High ISO: Increases sensitivity, allowing you to shoot in dim conditions, but may introduce noise. Use this setting cautiously to balance exposure and image quality.
Tips for Using Manual Mode Effectively
1. Experiment with Settings: The best way to get comfortable with manual mode is through practice. Experiment with different combinations of aperture, shutter speed, and ISO to see how they affect your images.
2. Master the Exposure Triangle: Aperture, shutter speed, and ISO form the exposure triangle. Adjust one setting and compensate with the others to maintain correct exposure. For example, if you open the aperture for a shallow depth of field, you might need to shorten the shutter speed to avoid overexposure.
3. Utilize the Histogram: The histogram displays the tonal range of your photo. A balanced histogram without spikes at the extremes indicates a well-exposed image. This tool helps in fine-tuning your exposure settings.
4. Start with Aperture: Begin by setting your aperture based on the desired depth of field. Once you’ve chosen the right aperture, adjust the shutter speed and ISO accordingly to achieve proper exposure.
5. Practice Regularly: Consistent practice is key to mastering manual mode. Take various shots in different lighting conditions and experiment with settings to become more proficient.
Elevate Your Photography with Manual Mode
Manual mode opens up a world of creative possibilities, allowing you to capture images that are uniquely yours. By mastering aperture, shutter speed, and ISO, you’ll gain the skills needed to produce high-quality photos that reflect your vision. Don’t be intimidated by manual mode—embrace it, practice diligently, and watch your photography skills soar.
If you have any questions or need further guidance on manual mode or photography in general, feel free to reach out. At Saturn Photography, we’re dedicated to helping photographers of all levels enhance their craft and capture stunning images.
Share this post